
From planning the trip to finding your people.
Three practical RME walkthroughs for vanlife, RV, bus, skoolie and nomad travel. Start with the feature you need, and keep control of what you share.
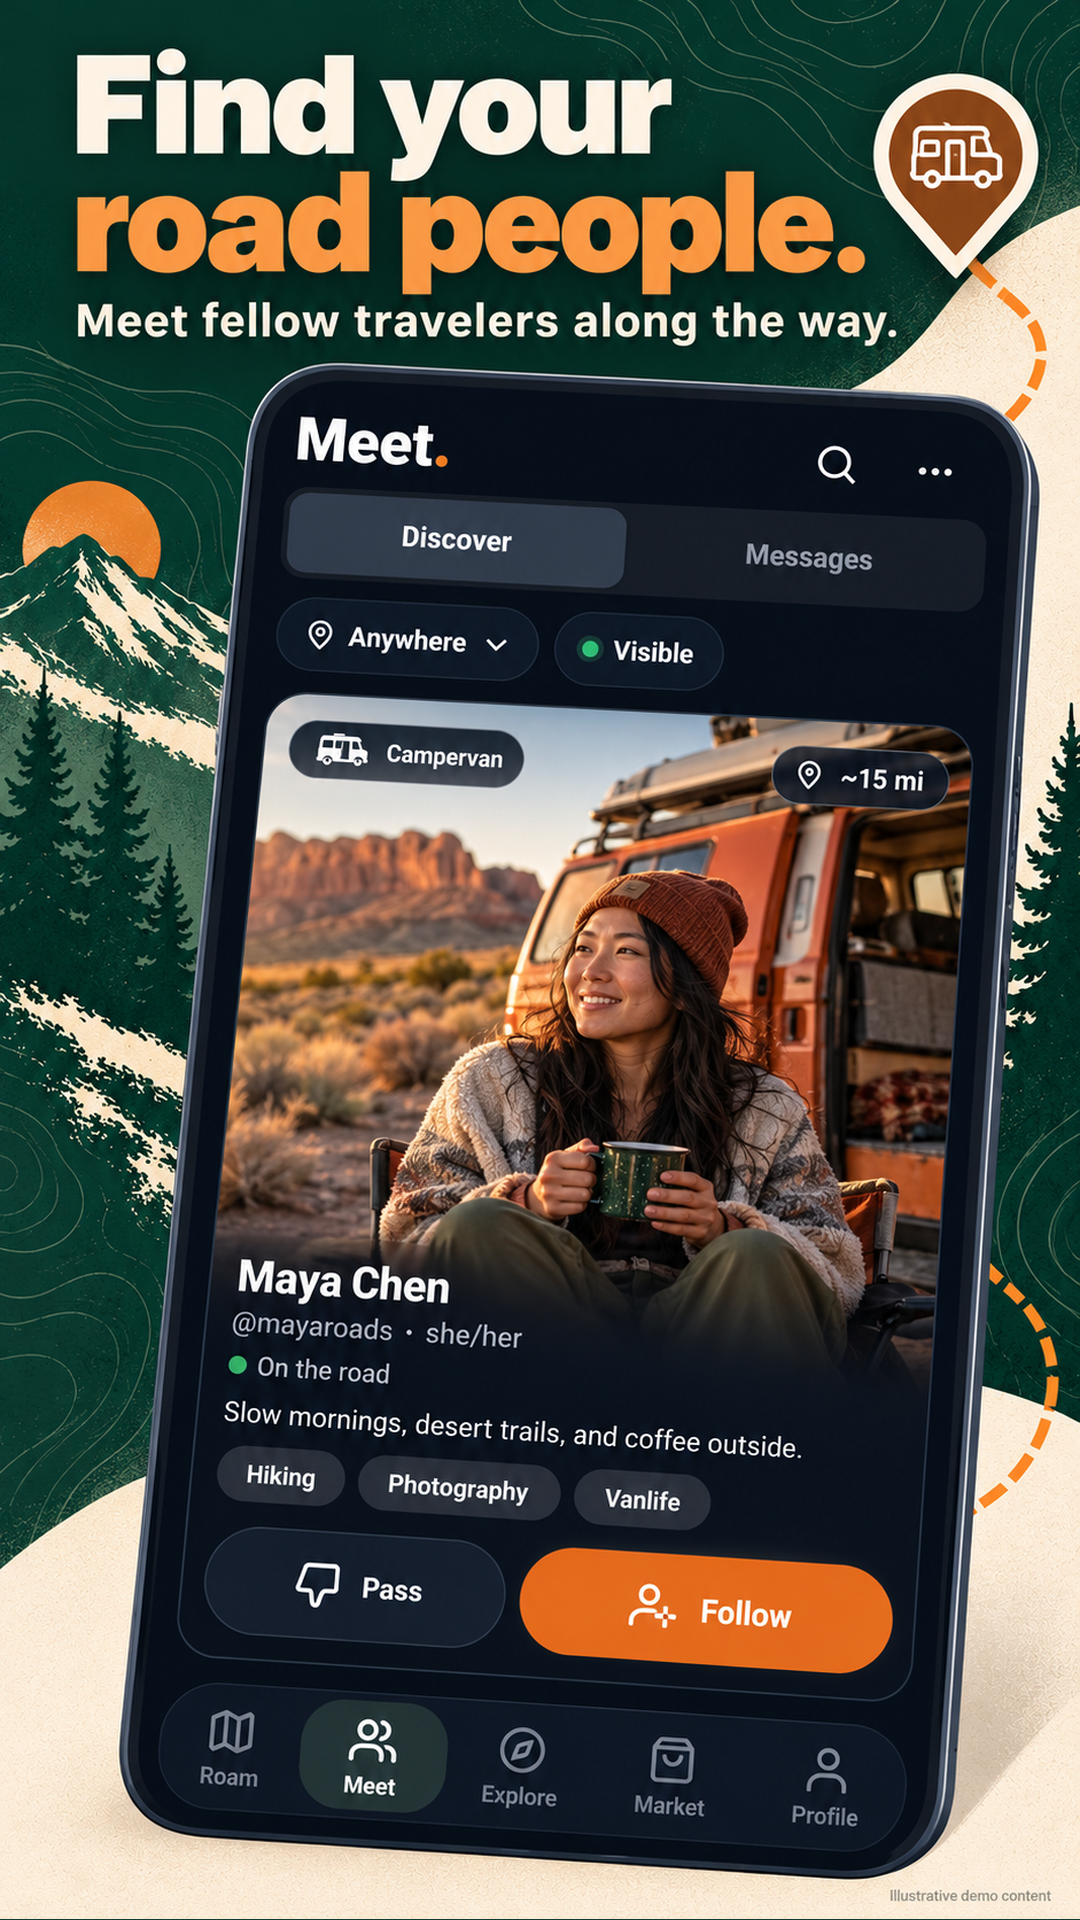
Find people to share the road with.
For vanlifers, RVers, bus and skoolie travelers, and nomads looking for road friends. Start in Meet; use Friends Map separately when you choose to share with mutual friends.
Make your card recognizable
Add your bio, interests and rig to your profile. Review your Meet card and the Show me in Discover setting before joining discovery.
Open Meet → Discover
Browse traveler cards and review the discovery range. The app can search beyond your immediate area; a wider range does not mean everyone shown is nearby.
Start a conversation
Use the connection and messaging controls in Meet. Ask about interests and plans, then agree on a public meeting place. Keep your own transport and tell someone your plan.
Share location only if you want to
Friends Map is for mutual friends. Choose Ghost, Town, Approximate or Precise, and a sharing duration. Discover visibility and location sharing are separate controls.
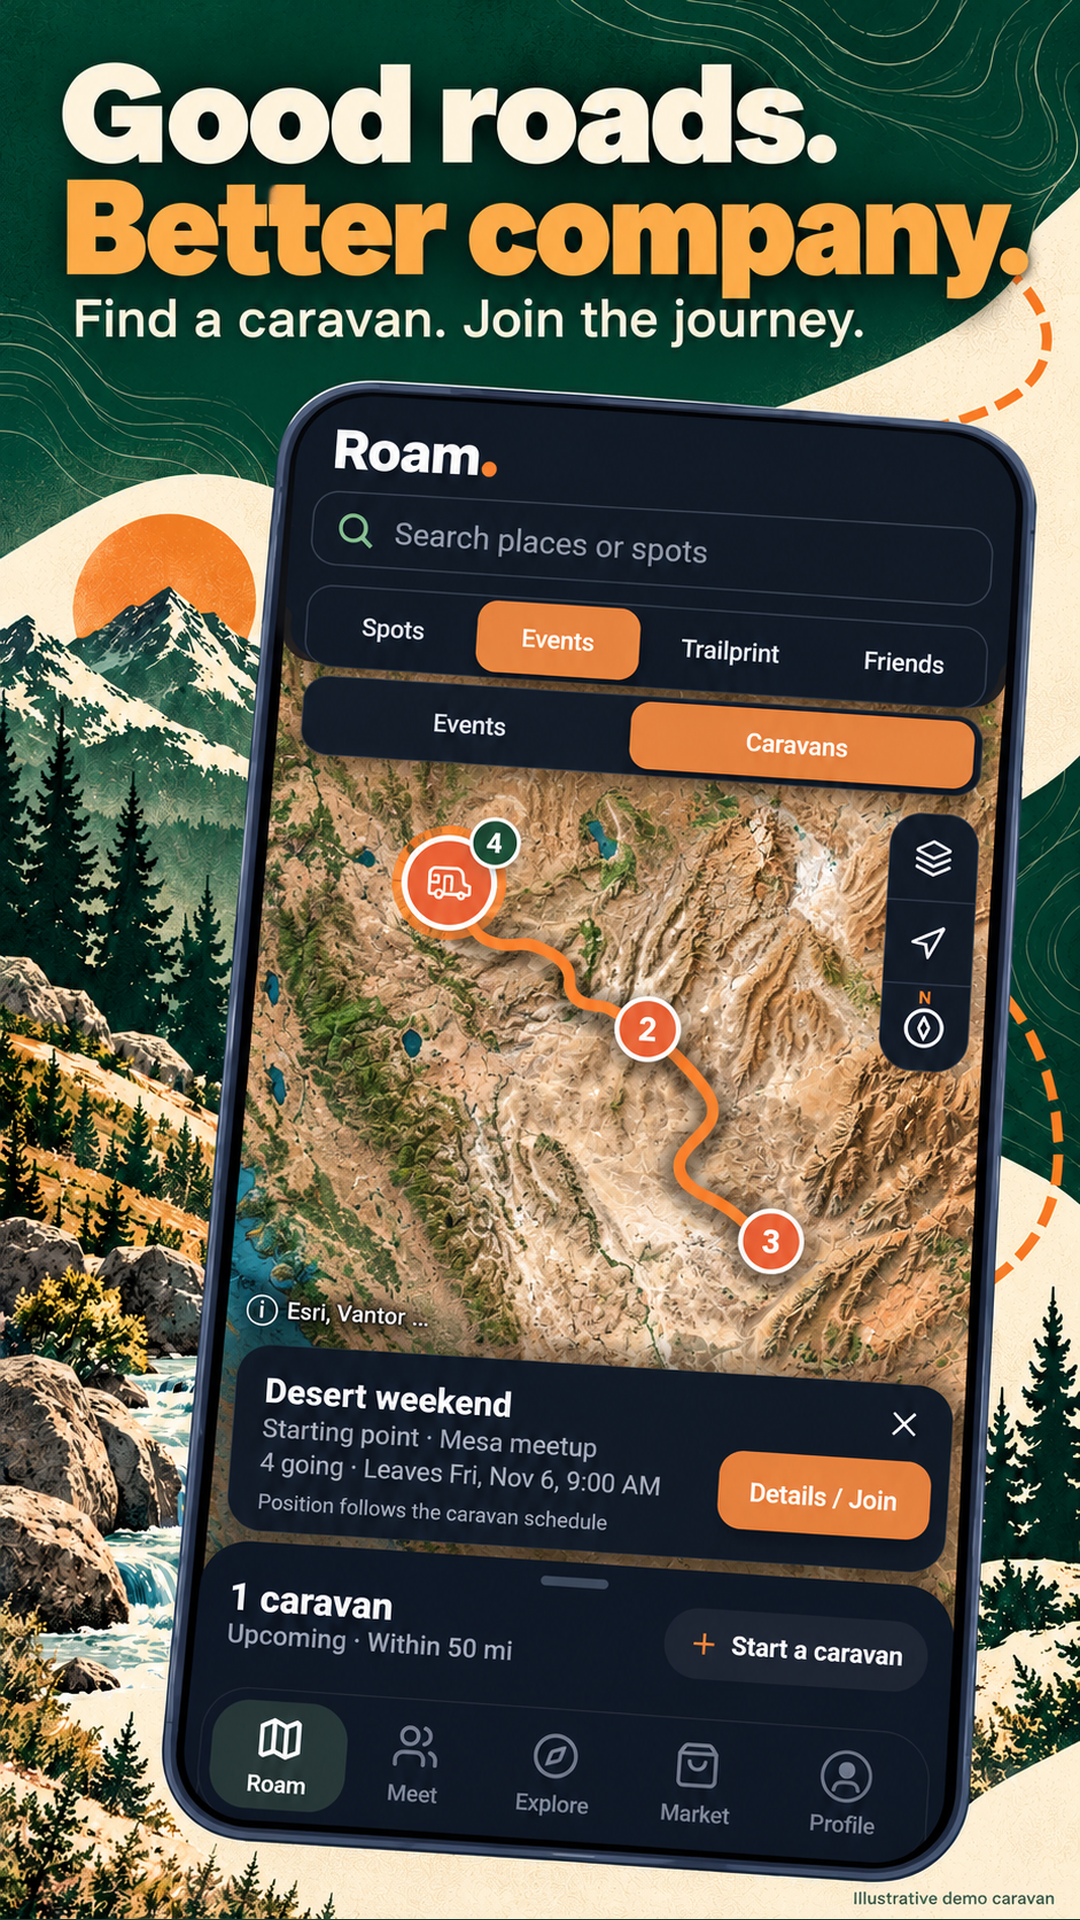
Turn a shared direction into a caravan.
A caravan is a dated route with stops, a meeting point and notes. Agree on the practical details before expecting people to follow the same route.
Decide the route together
Choose dates, realistic driving days, meeting points and backup stops. Use the trip-budget calculator to compare the cost, and check whether each stop suits everyone’s rig.
Create the caravan in RME
Use the caravan creation flow from Roam. Give it a name and cover, add dated stops and meeting notes, and choose the audience: Public, Friends or the people you select.
Confirm who is joining
Travelers can mark Going or Interested and join at remaining stops. Use the caravan chat to confirm timing, parking and any changes; interest alone is not a confirmed headcount.
Keep the plan current
Update dates or cancel if plans change. Check local road and site restrictions yourself. A caravan plan is not a campsite reservation or turn-by-turn navigation.
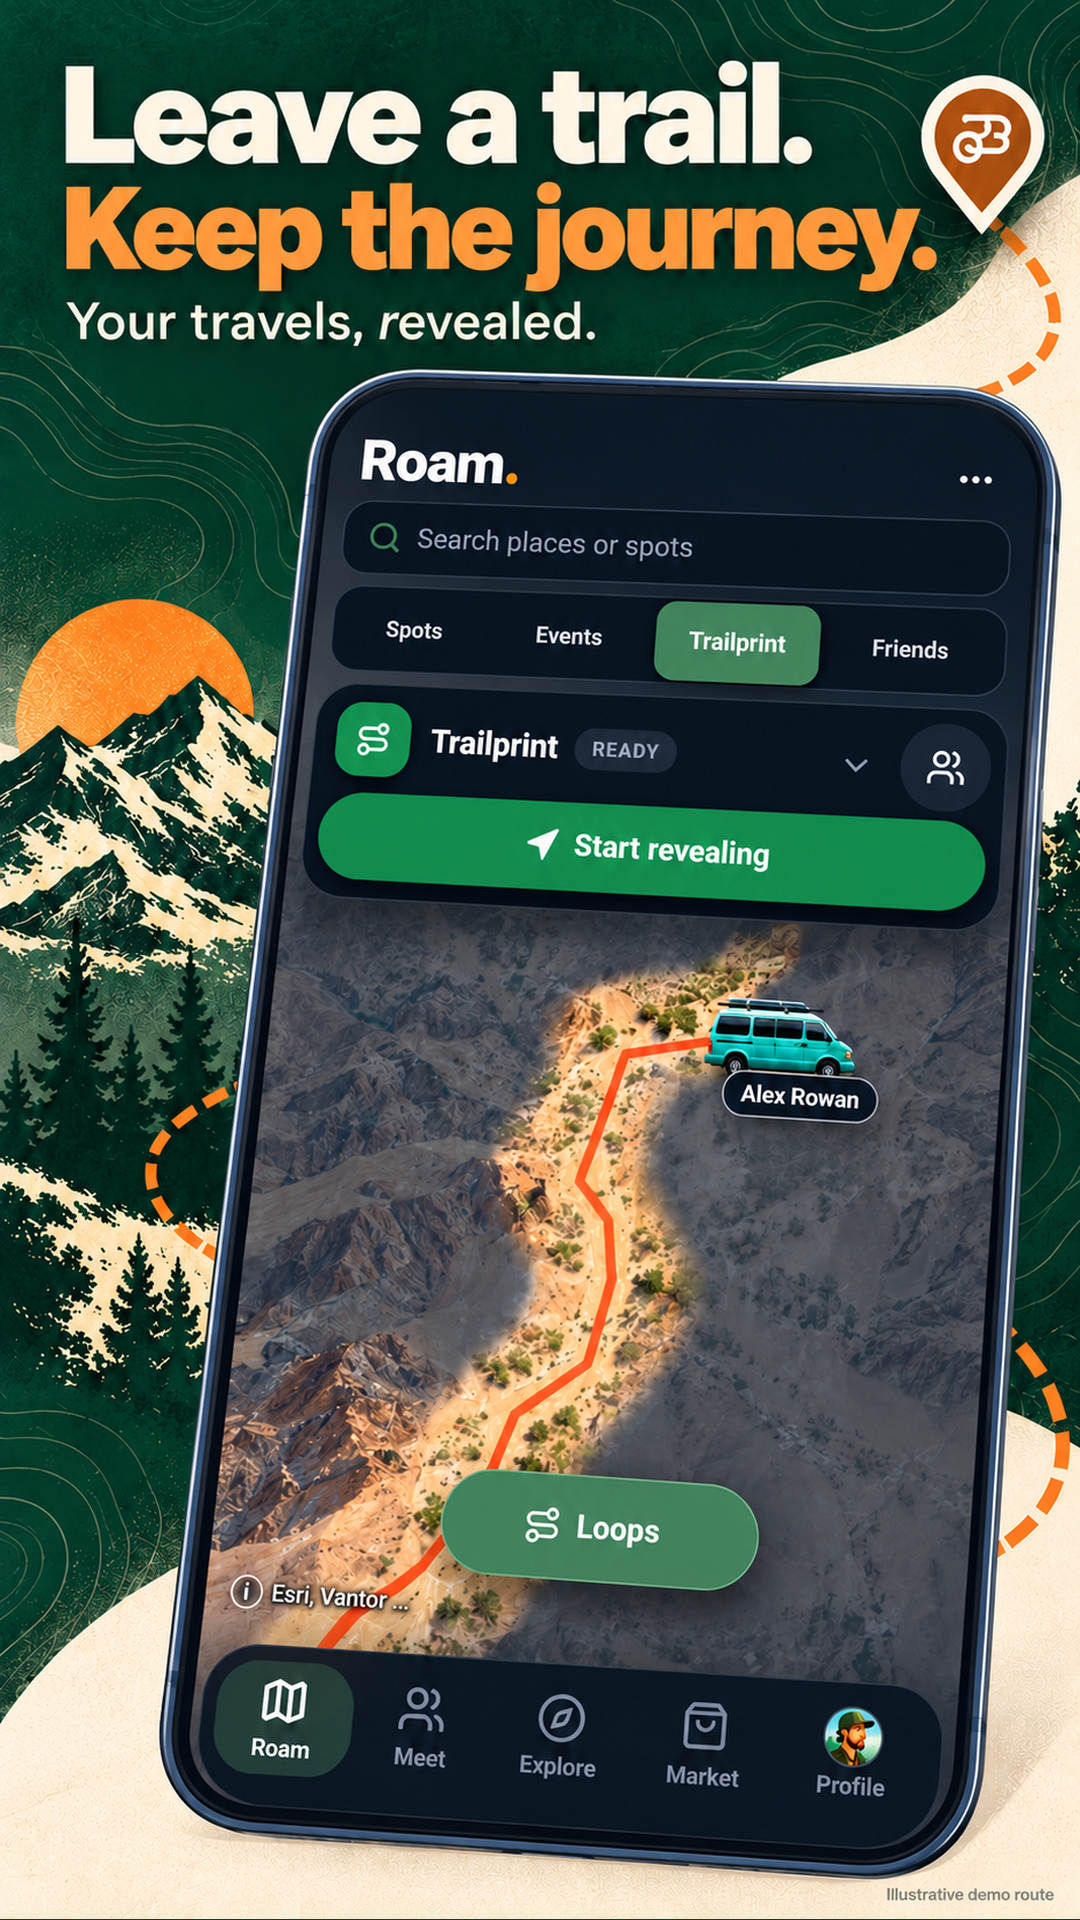
Keep a map of the journey you actually took.
Trailprint records where you travel after you choose to start. It is private by default and separate from active Friends Map location sharing.
Open Roam → Trailprint
Read the location disclosure before choosing Start revealing. Allow the location permissions needed for the recording behavior you want.
Check that recording is active
Background recording depends on your phone’s permissions and settings. Keep an eye on the recording state and battery, especially on a longer trip.
Stop collecting when you are done
Tap Stop revealing to end new location collection. This leaves saved history in place; stopping recording and deleting history are different actions.
Review, export or delete
Look back through your travel history. Trailprint settings include route visibility, GeoJSON export and permanent deletion. Review the audience before changing your route from Private.
Your next trip starts here.
App screens can vary by version. Feature access is explained on the linked guides and in the app.